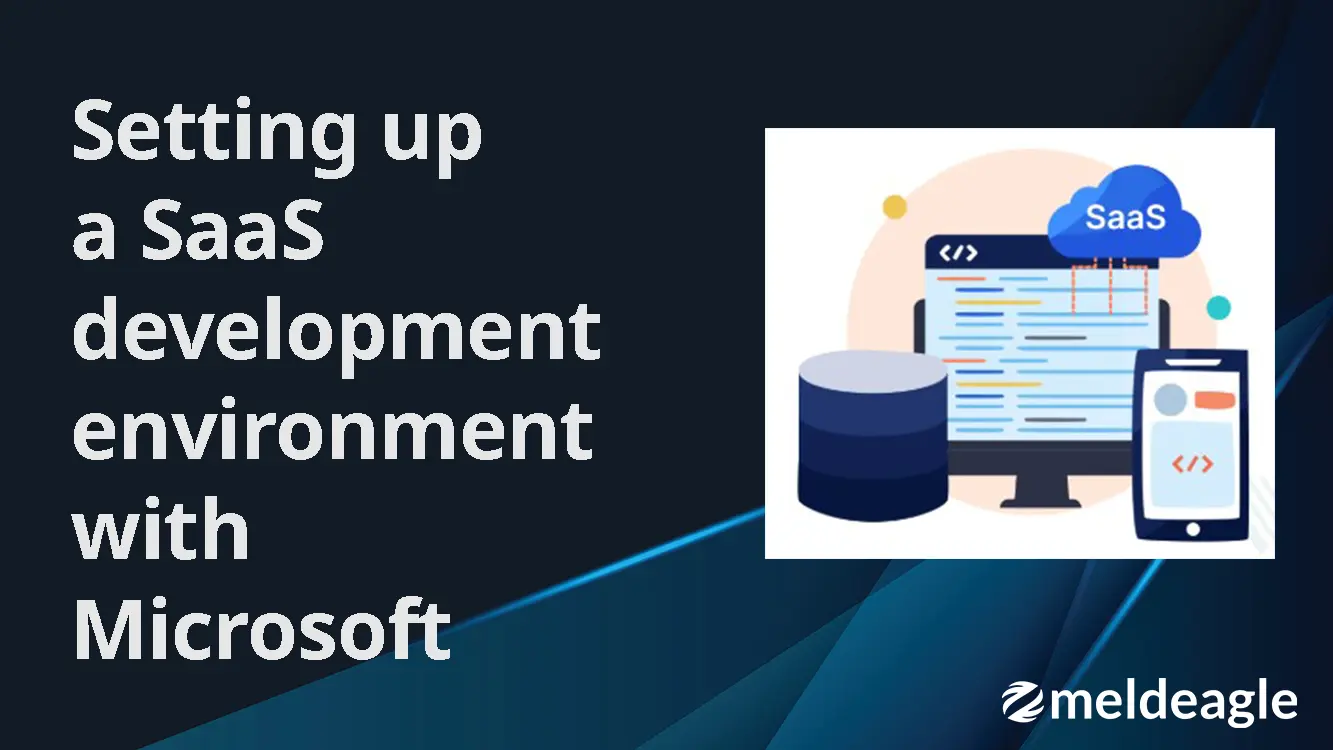
Building a SaaS development environment with Microsoft's commercial marketplace SaaS accelerator
When you're creating a SaaS application that will be published on Azure Marketplace, the Microsoft Commercial Marketplace SaaS Accelerator can give you a powerful head start. But like many open-source starter kits, it comes with some rough edges and a few undocumented steps. In this blog post, we'll guide you through setting up your own development environment, based on our real-world experience customising the Accelerator for our MeldEagle SaaS application.
What you'll learn
- How to clone and run the Accelerator locally
- How to configure Partner Center, Key Vault, SQL, and App Registrations
- How to customise and test subscription lifecycle events
- Common pitfalls and how to fix them
Step 1: Clone the repository and set up locally
Start by cloning your fork of the official SaaS Accelerator:
git clone https://github.com/YourOrg/zi-azmarketplace-app.git
You'll need to add configuration files to make the project run locally. Copy an appsettings.Development.json file into both:
- src/AdminSite
- src/CustomerSite
Your file should include all the necessary keys, like your Azure AD tenant ID, client ID, client secret, and SQL connection string. If you're running locally, use the actual values, not Key Vault references.
Step 2: Run the Azure deployment script (once only)
Microsoft provides a PowerShell script to scaffold your environment in Azure:
dotnet tool install --global dotnet-efDeploy.ps1 `-WebAppNamePrefix "my-web-app-name" `-ResourceGroupForDeployment "my-resource-group-name" `-PublisherAdminUsers "your.email@domain.com" `-Location "your Location"
This script sets up Web Apps, a SQL database, Key Vault, and three App Registrations:
| App Registration Name | Purpose |
|---|---|
| *-LandingpageAppReg | Used by the landing page that users are redirected to after subscribing from the Azure Marketplace |
| *-AdminPortalAppReg | Used for the Admin Portal, where you manage subscriptions |
| *-FulfillmentAppReg | Used to authenticate with the Azure Fulfillment API and manage subscriptions programmatically |
Step 3: Partner center SaaS offer configuration
After deployment, log in to Azure Partner Center and configure your SaaS offer:
- Landing Page: https://your-landingpage.azurewebsites.net/
- Webhook: https://your-landingpage.azurewebsites.net/api/AzureWebhook
- Use your AAD Tenant ID and App ID from the Fulfillment app registration
This enables Microsoft to redirect subscription flows to your app.
Step 4: Fix app registration issues
The script generates the app registrations, but they're not production-ready. For each registration, you need to:
Set multi-tenant access
- Go to: Azure Portal → Entra ID → App registrations → Your App
- Navigate to Authentication
- Set Supported account types to: Accounts in any organisational directory
Add local redirect URIs
For local testing, add these URIs:
- https://localhost:5001/Home/Index
- https://localhost:5001/
Step 5: Fix the broken client secret
The Key Vault secret created by the script (ADApplicationSecret) doesn't work.
Here's what you do:
- Go to the Fulfillment App Registration
- Generate a new client secret
- Replace the Key Vault secret with the correct value (not the ID!)
Step 6: Add access permissions
SQL Server:
Add your dev IP address to SQL Firewall settings.
Key Vault:
- Add yourself to Key Vault access policy
- Add your IP under the Networking tab
SQL Users:
Create users and grant permissions:
USE [your-db-name];CREATE USER [your.email@domain.com] FROM EXTERNAL PROVIDER;EXEC sp_addrolemember 'db_owner', 'your.email@domain.com';
Repeat in both the app database and master.
Step 7: Enable admin access
To access the Admin Portal, add your email to the KnownUsers table:
INSERT INTO KnownUsers (UserEmail, RoleId) VALUES ('your.email@domain.com', 1)
Step 8: Test the full subscription lifecycle
With your app deployed and connected to Azure Marketplace:
- ✅ Create Event → Subscribe to your offer
- ✅ Update Event → Change the plan
- ✅ Delete Event → Unsubscribe in the Azure Portal
You can use webhook.site to verify event payloads.
Sample webhook payload
{ "action": "Unsubscribe", "subscriptionId": "...", "status": "Succeeded"}
Common pitfalls we solved
- AADSTS7000215: Wrong client secret (used secret ID instead of secret VALUE)
- IDX20803: Authority misconfiguration or using /common with single-tenant app
- No webhooks firing? You forgot to call ResolveAsync() or missed wiring the webhook logic
Wrapping up
That's it! You've now got a complete dev environment for testing a SaaS application published via Microsoft Commercial Marketplace.
This setup supports local development, webhook lifecycle testing, and full subscription tracking.
Whether you're launching a product or integrating with internal tooling like Zapier, this guide should save you days of confusion.
Happy deploying 🚀


